Why buy from us?
Lorem Ipsum is simply dummy text of the printing and typesetting industry.
Ask a Question About This Product
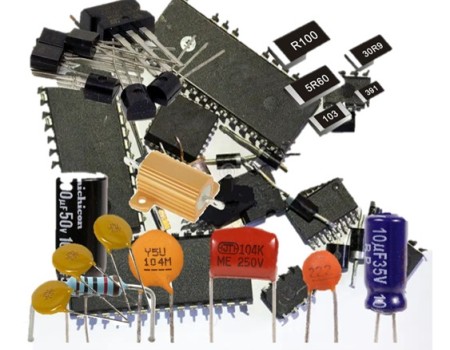
- Stock: In Stock
- Brand: OEM
- Model: RLMVL1029
- Location: https://detail.1688.com/offer/635604135419.html
Available Options
Dear customer, the shipment is in loose parts and requires self welding. Please send the welding information to the email.
Kit Name: Sparkling Christmas Tree
Kit model: (Three color light)/(Seven color light)
Working voltage: DC4.5-5V
Power supply method: 3 No. 5 batteries or USB charger
Dimensions: 60mm length * 60mm width * 136mm height
The CTR-30 Sparkling Christmas Tree Kit is composed of three circuit boards, which users assemble by soldering themselves, allowing 36 LEDs to flash alternately, presenting a three-dimensional outline of the Christmas tree in space (better viewing effect in nighttime environments).
Production steps:
One. Welding CTR-30A circuit board (referred to as A board)
1. Weld 4 resistors (R1 R3 R5 R7)
2. Weld 3 resistors (R2, R4, R6)
3. Weld 3 transistors and install them horizontally (with direction)
4. Weld 3 electrolytic capacitors and install them horizontally (with direction)
5. Weld the red LED (with direction), with red LED numbers D1~D6.
6. After folding the pins, insert them into the corresponding holes (pay attention to the installation direction)
7. The red LED has been soldered (numbered D1~D6)
8. Welding yellow LED (directional), numbered D7~D12
9. Welding green LED (directional),Number D13~D18
At this point, the A-plate welding is completed.
Next, solder the CTR-30B circuit board, abbreviated as B board, in the same direction.
There are two types of components with different installation positions on board A and board B; (Install according to the position on the component list)
1. The installation positions of R2, R4, and R6 resistors are different
2. The installation positions of red, green, and yellow LEDs are different
After both board A and board B are welded, they can be powered on to test whether the two boards can emit light and flicker normally. A. After the B board can flash normally, continue with the following steps.
11. Welding CTR-30C circuit board, abbreviated as C board
Welding 1 DC socket (with direction)
12. Weld one button switch (with direction)
13. A board and B board combination (with direction, two boards refer to the positive and negative poles of the base plate), align the two positioning arrows, and use a soldering iron to fix the two boards together.
14. Combination of battery box and C-board
Combination of battery box and C-board
A. Welding battery box wires
B. Fix the battery box with screws and nuts
15. Pre assembled AB board and C board combination (with direction and consistent power polarity)
16. Weld the top LED (with direction)
All production is now completed, and the finished product effect is as follows: